
1. Ensure the computer and the playback box are on the same LAN (connected to the same router via Ethernet or WI-FI)or connect the computer directly to the playback box’s Ethernet port via a network cable. The default IP address for the playback box is 192.168.0.10, configure the computer’s IP address to be within the same subnet.
2. Power on the playback box, the screen parameters have already been configured and saved using Nova LCT.
3. Software: download ViPlex Express(desktop vision)from the Nova official website.
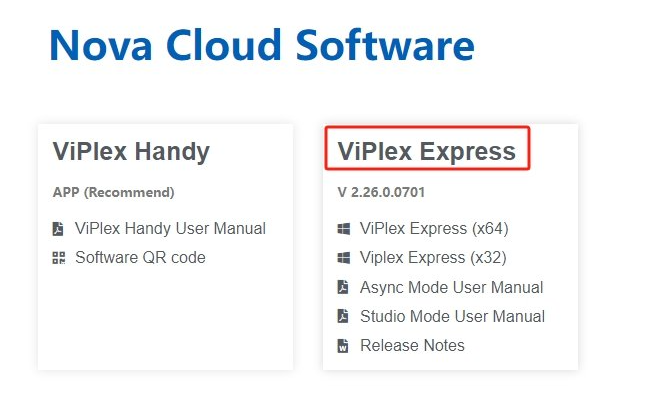
I. Open the software and select a mode.
Launch the software and choose one of the two options:
(1)Local playback: the computer directly outputs the video (synchronized, the computer must remain on)
(2)Asynchronous terminal: content is downloaded to the playback box, which then plays it automatically while offline(most common method)
⭐️For LED advertising screens, an asynchronous terminal is generally the preferred choice.
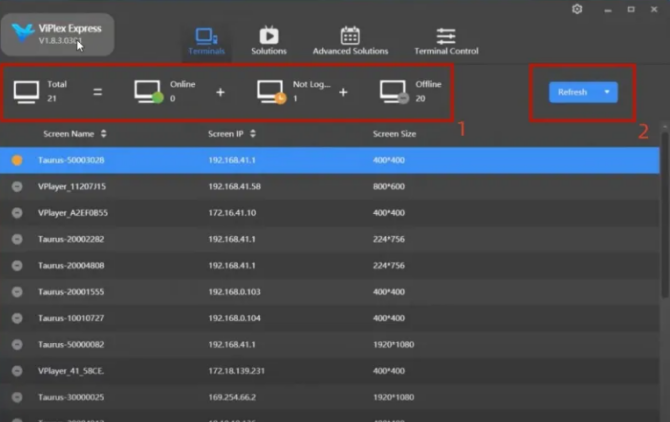
II.Search for and connect to the playback device box.
(1)Go to [ Terminal Management] > [Search Terminals] on the left, the TB/Taurus box will be automatically detected on the local network.
(2)Select the device and log in the default username is admin and the password is 123456.
(3)After successfully logging in, you can view screen status remotely power the device on or off, adjust brightness and volume, and schedule automatic power on/off.
⭐️FAQ:Unable to fine the controller box.
①Firewall disabled. ②IP network segments match. ③Ethernet cable/outer functioning correctly. ④Direct connection to the box’s AP. Connect the computer to the box’s built in WI FI (SSID details are on the label on the controller box)
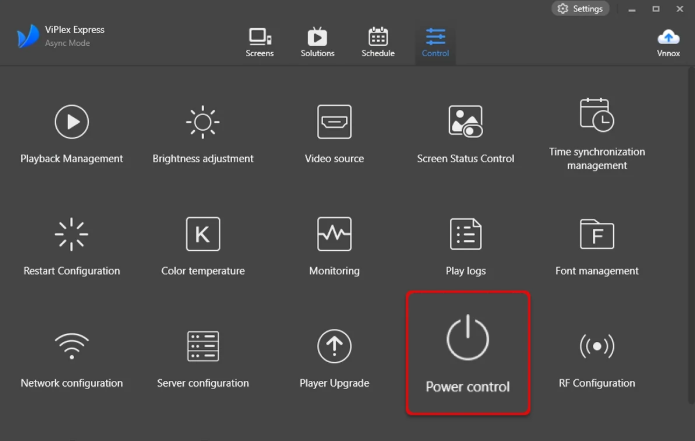
III.Create new program(Produce playback content)
(1)Switch to [Program Management] → [Create New Program]
(2)Set the program resolution to the actual pixel width x height of the LED screen(this is crucial, an incorrect setting will cause image stretching)name it, and confirm.
(3)Add pages to the program: each page represents a round of content, with configurable settings for display duration and playback count.
(4)Add asset components to the page(by dragging and dropping)
①Images, videos, text, clock, weather, countdown.
②Supports zoned layout: display video and scrolling text simultaneously on a single screen.
(5)Asset properties: adjust size, position, playback duration and transition effects via the right hand panel.
(6)Preview: check the preview window in the top right corner to ensure the image is normal.
IV.Publish programs to the LED screen.
(1)Program editing complete, saved.
(2)Tap publish in the top right corner.
①Single screen publishing: select a single terminal to publish directly.
②Batch deployment: select multiple boxes and deploy in batches.
(3)Check the progress in the[Publishing Center] and wait for the transfer to complete.
(4)Deployment successful, the box starts playback automatically. Programs can be manually switched via the terminal interface.
V.Common device control functions(Terminal Management)
(1)Brightness: adjust manually, or set scheduled brightness/ambient light based auto brightness.
(2)Add Schedule: select program, effective date, time slot, and recurrence rule.
(3)Once the schedule is deployed to the terminal, the box will automatically switch programs according to the timetable.
 English
  简体中文
简体中文  Português do Brasil
  Italiano
  Español
  Français
  Deutsch
  한국어
한국어  日本語
日本語