If you do not have the configuration file loaded by the LED display module manufacturer when installing and debugging the LED display, you will need to make an SSR file that can drive the LED display module. Here is how to make the driver file for this LED module(we call it smart settting).
Smart setting for Huidu controller
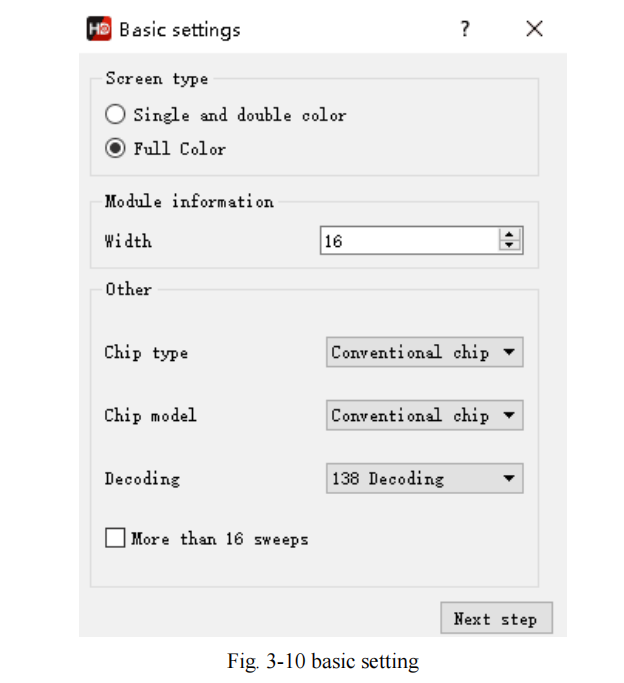
1) The first step for Smart setting, is to set the screen color type, single module width(in pixels), module chip type, and decoding mode (drop-down options are: 138
decode, nondecoding, 595 decode, 5958 decode, etc.). If the module is larger than 16 scans, please check ‘More than 16’.
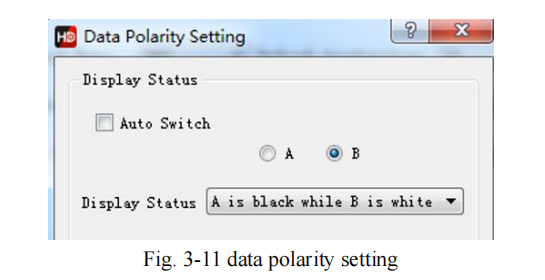
2) Data polarity setting, In this step, please try to select A B to see if the module is fully lit. Select the corresponding option in the display state according to the LED module performance
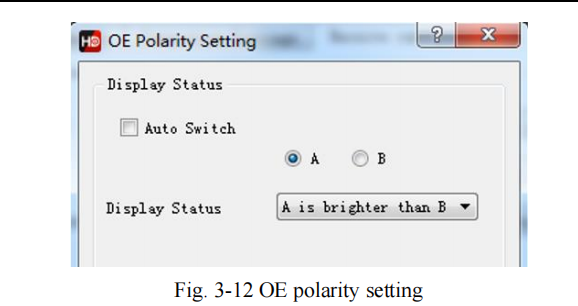
3) OE polarity setting, At this step, please try to select A B to observe the brightness of the module. According to the performance of the module, select the corresponding
option in the display state.
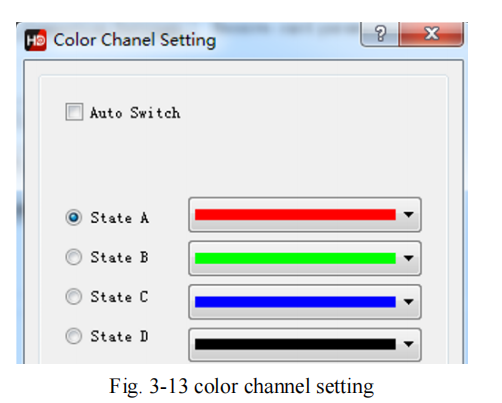
4) Color channel setting, At this step, please try to select the status A, B, C, and D to observe the color display of the module. According to the module performance, select the corresponding option in the display status. If A is selected, the screen displays red, then choose red; if A is selected, the screen displays blue, then you need to change red to blue.
5) lines controlled by one RGB data, Please observe the performance of the module and fill in the corresponding values. This step is to test the height of a set of RGB controls
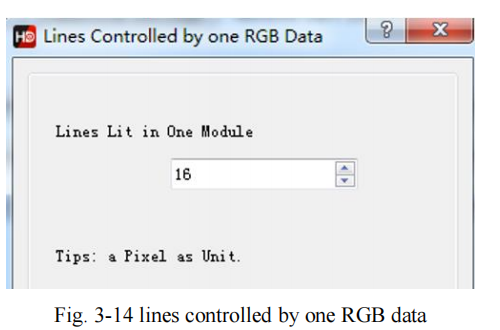
6) Determine the scan module, Please observe the performance of the module and fill in the corresponding values. This step is to test the scan type.
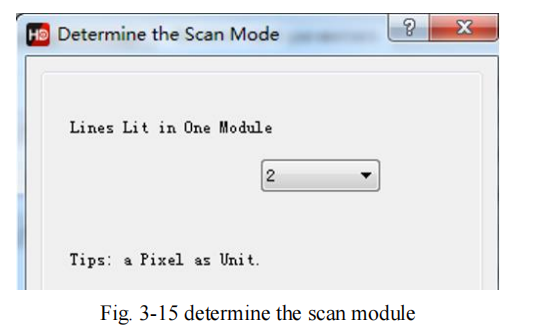
7) Alignment description, Please observe the module performance and click the corresponding cell according to the location of the flashing point.
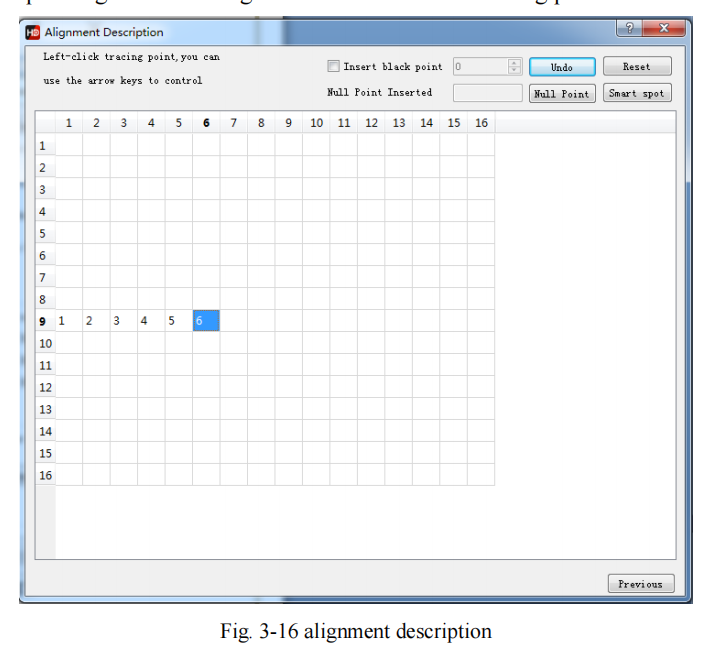
There is one point in the module which is in the upper left corner of the screen that is flashing, and which point is flashing, click on the corresponding point in the table. For
example, in the 9th line, the 1st point is flashing, then click the point (9th, 1st ) in the
table. Then the point (9th, 2nd) is flashing, then click it, following the flash point until
all table is clicked. After you finish, click Save to complete the smart settings

