

I. Distinction between the two types of equipment:
(1)Synchronous systems(MCTRL series, Video processor, Sending cards)
The computer must remain connected to the large display throughout the entire process, with the computer screen mirrored to the LED display in real time, this setup is commonly used for rental screens and large stage displays.
Software: NovaLCT(configuration & debugging)+ ViPlex Express(content playback)
(2)Asynchronous systems(TB series; TB30/TB60 are mainstream models)
For continuous loop playback even after disconnection from the computer, commonly used for storefront signage and advertising displays.
Software: ViPlex Express, supports offline updates via Ethernet, WiFi or USB drive.
II.Asynchronous controller box(TB30/TB60 operate process):
Preliminary preparation:
(1)Powering up the hardware: power on the LED screen and the NovaStar controller box.
(2)Network connection(Choose one of three)
①Connect via Ethernet cable directly to the computer: change the computer’s IP address to the same subnet as the box(the box’s default IP is usually 192.168.0.100)
②LAN: connect the box to the router, and connect the computer to the same WiFi network or switch.
③WiFi: enable the AP hotspot on the box, then connect your computer directly to the box’s WiFi.
(3)PC installation: ViPlex Express (available for download from the NovaStar official website)
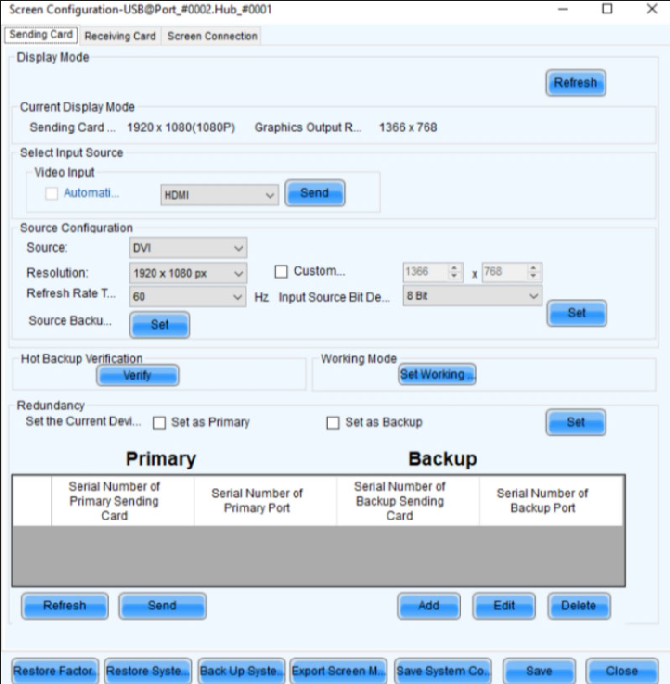
Step 1: connect the device.
①Open the software– Go to Terminal Management.
②Click refresh, if the device shows Online, the connection is successful. If it’s not online, check the IP address, network cable, and power supply.
Step 2: creative a new program(core)
①Switch tp [Program Management] –click New –select Standard screen.
②Enter the parameters (be sure to specify the number of pixels, not the physical dimensions)
Program title: custom
Width, Height: actual resolution of the LED screen(e.g., 1280×640)
③Confirm entry into the canvas editing interface (canvas size= large screen dimensions)
Step 3: edit content(text/ image/ videos/ clock)
You can add various assets via the top toolbar and drag to adjust their position and size:
(1)Word:
Click [Text] –a text box appears on the canvas, double click to enter content. Settings on the right include: font, font size, color, scrolling effects(scroll left/ scroll up)and playback speed.
(2)Picture:
Click [Image] –Upload a JPG/PNG file, then stretch it to fill the entire screen or position it in a specific area.
(3)Video:
Click [Video] –MP4 format recommended, drag and drop to fill the canvas, set to loop playback fit to full screen.
(4)Add one: digital clock, weather, countdown, multi page carousel.
Step 4: preview + publish to the large screen.
①Click [Preview] in the top right corner to view the result on your computer first.
②Click publish in the bottom right corner.
③Select the online playback box — send, the large screen updates its content immediately once progress reaches 100%.
Convenient offline method: USB drive update:
①Prepare the program — Export to USB drive.
②Insert the USB drive into the playback box, select Copy & Play, remove the drive once copying is complete, and the large screen will automatically start playback.
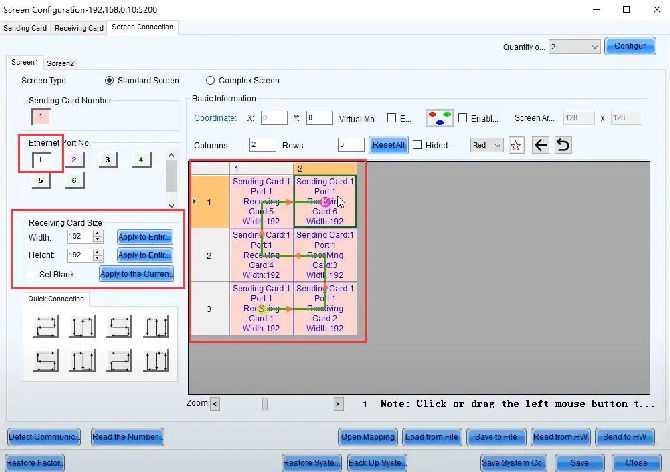
III.Synchronous sending card / Video processor(Stage rental screen: MCTRL660, VX1000)
Suitable for: real time computer video output, live streaming, conferences, and stage performances.
①Connect the computer to the Nova sending card via an Ethernet cable, ensuring the computer’s IP address is on the same network segment as the sending card.
②Open Nova LCT and log in ad an Advanced User (default password: 666 / 888)
③You must first configure the screen(cabinet layout, scanning mode, and receiving card parameters, the manufacturer will provide a configuration file can be imported directly)
④After the screen configuration is complete, launch ViPlex express:
Mode selection [Synchronized Playback on this device].
Create a new program and add videos, images, and text.
Click to play, and the computer screen is simultaneously output to the large LED display.
⑤Routine content updates: simply replace the assets directly within the software and play.
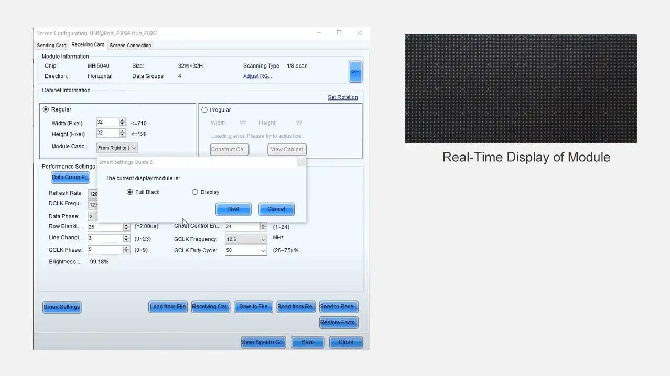
IV.Common settings and practical tips:
(1)Brightness adjustment:
①Asynchronous screen: Terminal Management → Device Properties → Brightness Percentage (increase during the day, decrease at night)
②Synchronous screen: Adjust global brightness within the Nova LCT software.
(2)Scheduled power on/off and scheduled channel switching:
①Enable scheduling settings on the program editing page: set the system to start at 8:00 AM and shut down at 10:00 PM, with automatic switching of advertising content based on the time of day.
(3)Troubleshooting Content Anomalies:
①Device offline: Check the network cable and IP subnet, and reboot the controller box.
②Image stretching or distortion: The resolution of the newly created program must exactly match the pixel dimensions of the large screen.
③Stuttering text scrolling: Reduce scrolling speed or shorten the text length.
④Video shows a black screen: Transcode to MP4 (H.264 encoding) and adjust resolution for large screens.
 Français
  English
  简体中文
简体中文  Português do Brasil
  Italiano
  Español
  Deutsch
  한국어
한국어  日本語
日本語